Understanding the Basics of Plumbing Fixtures
Plumbing fixtures play a pivotal role in every residential or commercial space. They form the interface where water is drawn for a multitude of uses, ranging from cleaning to heating and waste removal. These fixtures can be broadly categorized into three types, namely – sinks, showers/bathtubs and toilets, and each plays a distinctive role. Understanding these different fixtures types and their functionality is the cornerstone of comprehending plumbing basics. Plumbing fixtures come with various controls, often known as faucets or taps, to regulate the flow of water. The efficiency of these controls is a cornerstone for water conservation. Faucets come in multiple designs and mechanisms that not only enhance the aesthetics of the space but also provide ease of use and efficient water flow. Knowledge of the various fixture components aids in their proper maintenance and repair, thereby optimizing their functionality and longevity.
Identifying Different Types of Faucets: A Comprehensive Guide
Faucets, also commonly referred to as taps, come in an array of shapes, designs, and functionalities. Primarily, they can be classified into four main types: ball, cartridge, disc, and compression. A ball faucet, characterized by its single handle that moves over a rounded ball-shaped cap, is commonly used in kitchens. Despite being durable and reliable, they are prone to leakage and may need frequent repairs.
On the other hand, a cartridge faucet operates with a movable stem cartridge that moves up and down to regulate flow. This type of faucet can have either one or two handles and is quite easy to maintain due to the cartridge’s long lifespan. Disc faucets, relatively new entrants in the market, are lauded for their reliability and less requirement for repairs. They utilize two ceramic discs to control water temperature and flow. Finally, the compression faucet, with its separate handles for hot and cold water, is recognized as the oldest and most commonly used faucet type. However, they may require more maintenance as they involve washers prone to wear and tear.

Give Us A Call Now At (855) 789-1250

Essential Tools for Installing and Fixing Faucets
Having the right tools at your disposal can significantly streamline the process of installing or fixing faucets. It is vital for both professionals and DIY enthusiasts to be equipped with the correct gear to carry out the task efficiently, accurately, and safely. Basic plumbing tools such as a basin wrench, adjustable wrench, pliers, screwdriver, and plumber’s tape are the backbone of any faucet repair or installation job. Investing in a high-quality toolset ensures seamless operations and provides invaluable aid in tackling complex plumbing procedures.
The use of specific equipment can further simplify the project. In particular, a basin wrench, owing to its swiveling jaw and long handle, permits easy access to nuts and bolts in tight spaces underneath sinks. Similarly, an adjustable wrench provides grip and mechanical advantage in turning objects. On the other hand, plumber’s tape, also known as Teflon tape, is applied to the threads of a connection to prevent leaks. Utilising the correct plumbing tools can save time, prevent potential errors, and is crucial for any successful faucet installation or repair undertaking.
Step-by-Step Guide: How to Install a New Faucet
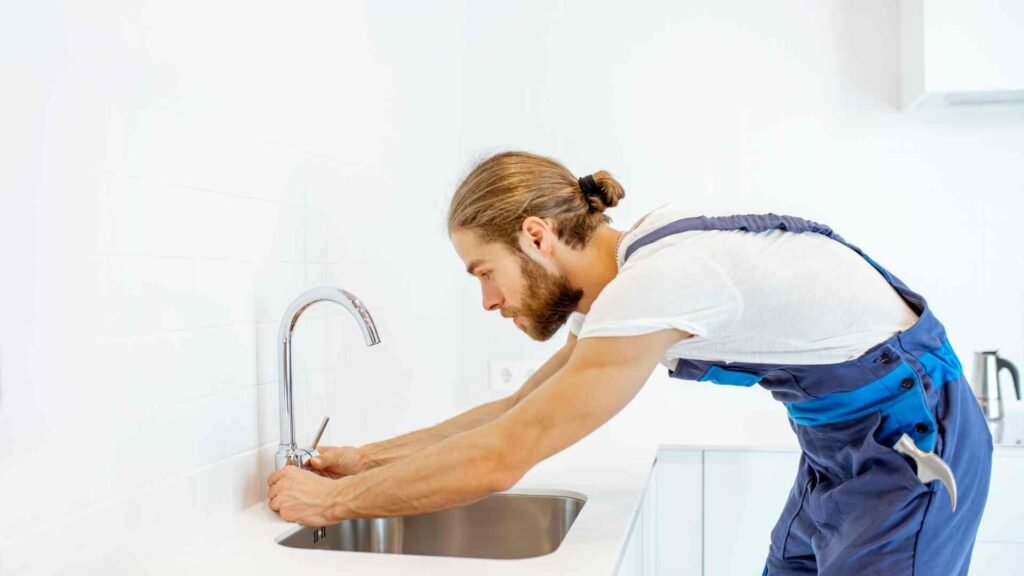
Installation of a new faucet necessitates careful planning and attentive execution to ensure the desired functionality and aesthetic appeal. The first steps towards a successful installation involve preparing the workspace and gathering the necessary tools. Begin by turning off the water supply to avoid any potential flooding. The water shutoff valve is typically found under the sink and can be turned off by rotating it clockwise. Gathering the essential tools needed for the job, such as a basin wrench, adjustable wrench, and plumber’s putty, will streamline the process and facilitate a smooth installation.
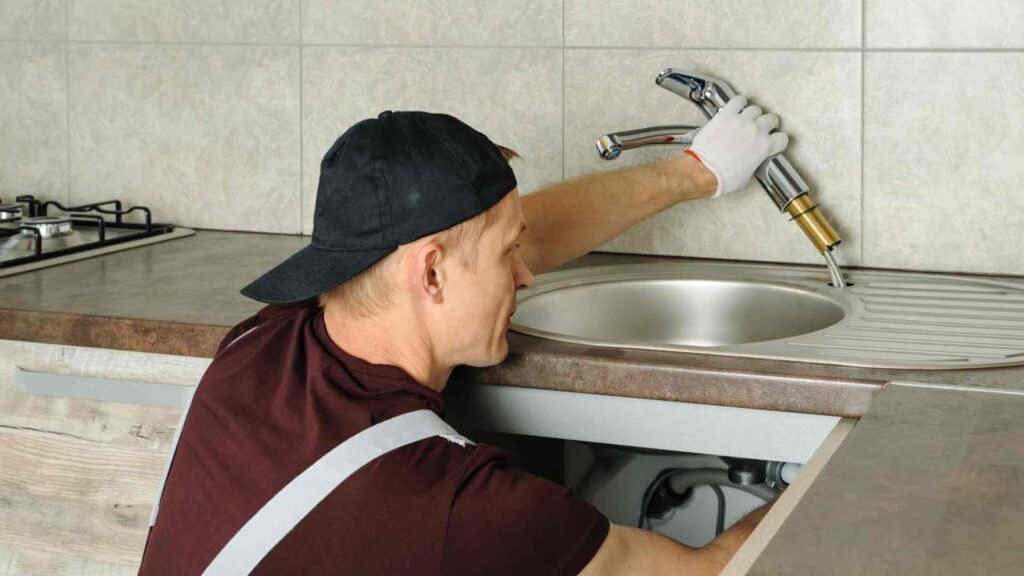
Once preparation is complete, the old faucet must be removed. This can be done by disconnecting the water supply lines using an adjustable wrench, followed by the removal of mounting nuts using a basin wrench. An important tip to remember while doing this is to keep a gentle hold on the faucet above the countertop to prevent it from shifting or falling. Once the old faucet is successfully removed, the area should be cleaned thoroughly to ready it for the new faucet. This cleaning process often involves scrubbing away old plumber’s putty as well as any debris or mineral buildup. Preparing the premises ensures a clean, reliable fit for the new faucet, setting a solid foundation for the following steps of installation.
Troubleshooting Common Faucet Problems
Faucets, an indispensable feature of any home, are bound to encounter some wear and tear through their lifespan. These issues, often minor, can lead to more significant problems if not addressed promptly. Being aware of common problems and how to identify them is the first step towards maintaining an efficient and long-lasting plumbing system.
A frequent issue is a leaky faucet. This is often caused by worn-out components and, while seemingly inconsequential, can waste a surprising amount of water over time. Dripping may result from a damaged seal within the faucet handle or impaired valve connections. Another common issue is low water pressure, often an indication that the aerator is clogged with mineral deposits. Unusual noises coming from your faucet, from screeching to banging, is generally a sign that something within the faucet requires a fix or replacement. Understanding these issues can be instrumental in maintain smooth operations of your faucets, or at least provide an initial diagnosis to your plumber.

Proven Techniques for Fixing Leaky Faucets
A leaky faucet, despite appearing as a minor inconvenience, may lead to significant water loss over time, thus burdening homeowners with escalating water bills. Fortunately, addressing this issue can be relatively straightforward with an understanding of the right techniques. The first step in tackling this problem is to identify the type of faucet as its structure dictates the repair process. There are four main types – cartridge, ball, disk, and compression – each with unique mechanisms and thus distinct troubleshooting procedures.
After dauntlessly identifying your faucet type, gather the essential tools usually required for a fix – adjustable wrenches, Philips and flat-head screwdrivers, and replacement parts. It’s advisable to cut off the water supply to the faucet before beginning which can usually be done from the valves under the sink. Following this, remove the decorative parts of the faucet handle using a screwdriver. The mechanism of the faucet, now visible, should allow you to diagnose the source of the leak. Remember to replace any parts that seem worn or damaged. After reassembling the faucet, turn on the water to check if the faucet still drips, affirming whether the issue has been resolved.
Give Us A Call Now At (855) 789-1250
Tips and Tricks: Maintaining Your Faucet for Longevity
Maintaining a faucet’s longevity is both an art and science, requiring consistent care and specialized knowledge. One essential tip to prolong the lifespan of your faucet is regular cleaning. Over time, minerals and dirt can accumulate on the components, leading to rust or a blockage. Using a mixture of vinegar and water is recommended as an effective cleaning solution. Toothbrushes and cotton swabs can also aid in reaching the crevices of the faucet. Regular cleaning not only keeps your faucet gleaming, but also enhances its functionality and durability.
A prevalent myth is that tight closing of the faucet prevents leakages. Contrarily, over-tightening the handle puts extra pressure on the valve, thus accelerating wear and tear. A gentle turn is enough to shut off the water flow. Moreover, it’s crucial to replace washers and seals periodically. These components often bear the brunt of constant use and can wear down over time, leading to dribbling faucets. Quick replacement of these parts prevents cascading damage and promotes the longevity of the entire assembly. Besides, having the right tools and diagnostic techniques at your disposal could be a significant advantage in maintaining your faucet’s lifespan.

Frequently Asked Questions
The basic plumbing fixtures include sink faucets, showerheads, bathtubs, toilets, and water heaters. It’s essential to understand how these fixtures work to properly maintain them and prevent potential issues.
Certainly, there are primarily four types of faucets: ball, disc, cartridge, and compression. Each type has a unique mechanism and requires specific maintenance.
The essential tools for faucet installation and repair include a basin wrench, adjustable wrench, plumber’s tape, plumber’s putty, and pipe cutter.
Detailed steps on how to install a new faucet are covered in the article. However, the basic steps include shutting off the water supply, removing the old faucet, installing the new one, and testing for leaks.
Common faucet problems include leaks, low water pressure, and inconsistent water temperature. Troubleshooting might involve checking for clogs, inspecting the aerator, or examining the cartridge valve.
The techniques to fix a leaky faucet depend on the type of faucet. It might involve replacing a worn-out washer, changing the cartridge, cleaning the aerator, or adjusting the water pressure.
Regular cleaning, checking for leaks, and timely replacement of worn-out parts are crucial for maintaining faucets. It’s also essential to avoid over-tightening the faucet handle and regularly inspect the water pressure.
Regular maintenance, using the right tools, understanding your faucet type, and addressing minor issues promptly can help prevent major faucet problems. Reading and following the manufacturer’s instructions can also be beneficial.
Preventive Measures to Avoid Faucet Problems
Regular inspection of your faucets and plumbing fixtures is a crucial aspect of preventive maintenance. This vigilant approach can detect minor issues before they evolve into significant problems, thus extending the lifespan of your plumbing fixtures. An inspection should include a thorough check of common problem areas such as worn-out seals, signs of corrosion, or mineral buildup. Faucets in high-use areas like the kitchen or bathroom require more recurrent checks due to their constant usage. The application of adequate water pressure is another key preventive measure to avoid faucet problems. Excessively high water pressure can cause unnecessary strain on your faucets, leading to leaks or even structural failure. Installing a pressure regulator can maintain a consistent level of water pressure, reducing the wear and tear on your plumbing fixtures. Similarly, ensure the water temperature settings are not excessively high. Extremely hot water can damage the internal components of the faucet, causing it to malfunction.
